MESSAGES: Error List, Logging and Desktop Notifications/Alerts
Messages reported by the system are output in the MESSAGES window (located in the Cross Function Area), or they are displayed as desktop notifications/alerts.
 MESSAGES | You can hide/show the window by clicking the button shown left on the Cross Function Area toolbar. For closing the window, you can also click the cross icon on the right of the window title bar:  |
 | If at least one new element is added to the window while it is closed, the icon on the Cross Function Area toolbar is shown with an envelope icon. |
 How to pin/unpin the window in the Cross Function Area

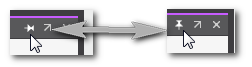
How to undock/dock the window  /
/
The MESSAGES window provides several categories which can be activated via the corresponding button in the window toolbar. The categories can be combined to show several outputs.
This topic contains the following sections:
Error List
The Error List displays errors, warnings and information messages concerning the current project and which can be resolved by the user. Mainly these are compiler/parser errors and warnings that appear during programming (continuous background check) as well as, for example, invalid IP settings.
Automatic background compilation: While editing the project, the compiler is automatically executed after a modification. This way, detected errors are reported without a manual compiler start. The error list in the message window is only updated after completing the compilation.
Logs
Several logs can be used to track the system activities. These logs are saved persistently with the project and the messages are restored when opening the project (as long as they are not resolved). The log to be displayed can be selected in the MESSAGES window toolbar.
An incoming new message in a log which is not visible, is indicated with the + icon: 
The context menu in the logs provides access to all the functions available for the logs. It allows you, for example, to export the log entries to an *.csv file, delete entries of a specific log or of all logs, etc. (see below for a description of the various functions).
| Log type | Message type |
|---|---|
| Project Log | Stores messages on tool- and project related events and events concerning the engineering environment. It logs, for example, errors during import of gsdml or fdcml files, or information on the last PLCopen XML import (see topic "Importing Types (POUs, Data Types)"). It, however, only considers standard (non-safety-related) events. |
| Online Log | Stores messages from the standard (non-safety-related) runtime (eCLR error catalog) and other errors/warnings concerning the online communication with the standard controller and the Safety PLC. |
| Safety Log | Stores any editing operations and messages that relate to safety-related project parts. Refer to the section "Safety Log" in the topic "Safety-Related Application" for details. |
Desktop notifications/alerts
PLCnext Engineer creates notifications in some cases, for example, to inform about build steps/results or successful/failed engineering events.
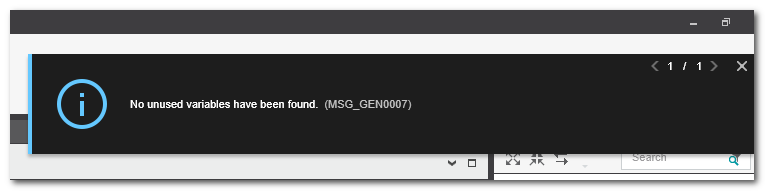
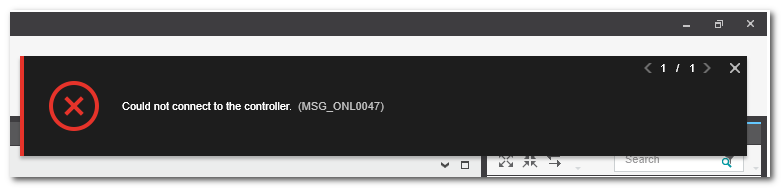
There are three types of notifications: information, warnings, errors. The severity of these types is indicated by the border color and a corresponding icon.- Notifications which are shown in the upper right corner of the screen.
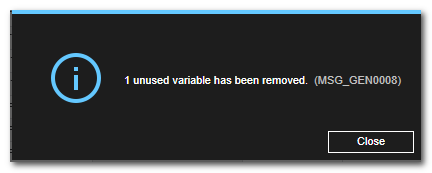
These notifications are non-modal, i.e., they can remain visible while PLCnext Engineer can continue to be operated and they disappear automatically after a few seconds. You can close the notification by clicking the x icon and browse through the messages by clicking '<' and '>'.Double-clicking a notification jumps to the cause of the message if a jump target is available. - Notifications and alerts which are shown in the center of the screen.
These are modal, i.e., PLCnext Engineer cannot be operated any further until the current message has been confirmed.
What do you want to do?
Jump to cause of message (error list, logs and desktop alerts)
Filter the messages (error list and logs)


Sort the messages (error list and logs)
Get help on messages (error list and logs)
Copy message text (error list and logs)